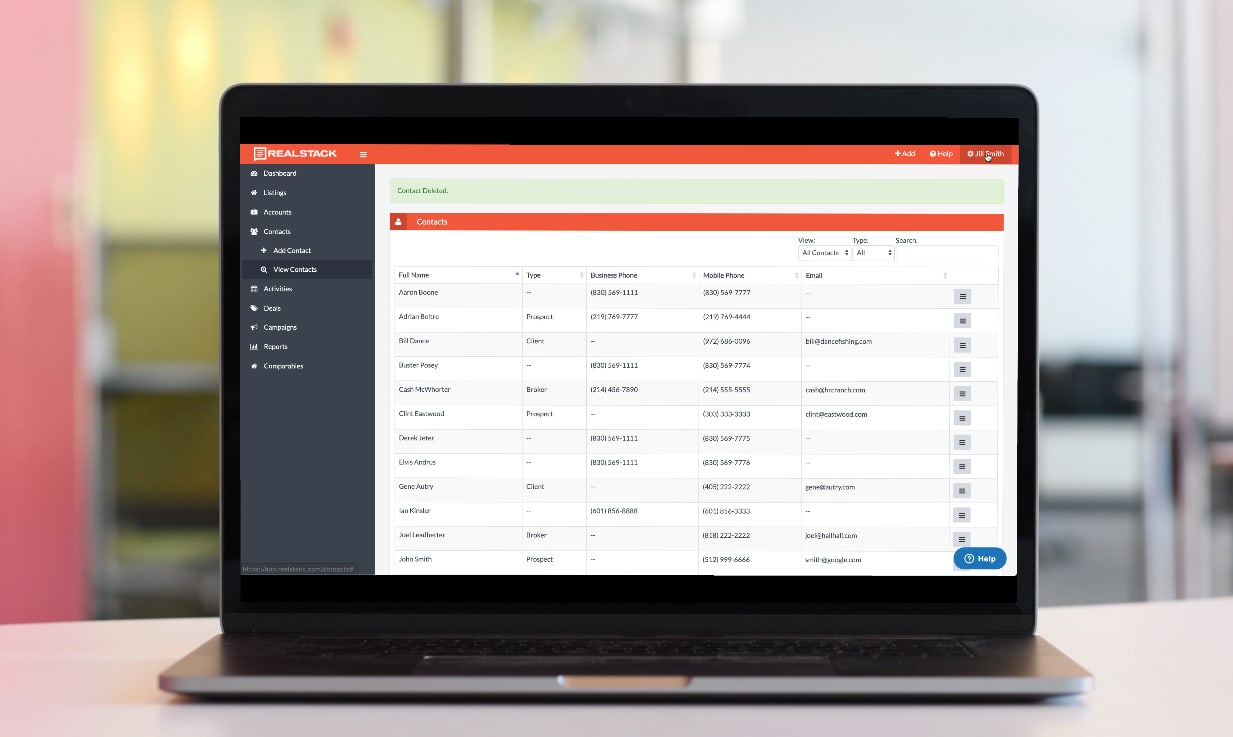
New video is out on how to create contacts and assign activities to other users in REALSTACK. Maybe you take phone leads and need to get the detailed information to your agents …this is the video to show you how to accomplish this AND have the ability to report on these leads being logged.

################
Video script
This video will cover creating contacts and activities for other REALSTACK users. A common scenario is receiving inbound calls from leads on a property for another agent or broker. It is best if you are logged in as a Client Admin user, but these steps can also be applied when logged in as a Client User role in REALSTACK.
The common scenario is an inbound call to the main office phone number asking questions or requesting information about a property your brokerage has available for sale.
When the call comes in, the first thing you will do is search for an existing contact already in the system for that listing rep or user.
From the View Contacts table, select the dropdown filter for users and select the user who is representing the listing. In this case, “Chad Polk”. Then search in the text box filter for the contact who called in. In this case, search “Brett” such as Brett Farve. The Brett Farve contact does not exist for Chad Polk user so I’ll go ahead and create the contact now.
On the left navigation menu, click “Add Contact”.
On the Add Contact form, make sure the “Assigned to” drop down has “Chad Polk” as the user so that he will be able to have full access to viewing this new contact AND will get the email notification that a contact has been assigned to him.
We’ll quickly fill out the Add Contact form and click Submit.
Next step is to log the completed activity for the inbound call that you took. Click the “Add” link in the top right of the Activity Stream so that the activity will auto associate with this contact here.
Begin to fill out the Activity form.
Make not of the “Assigned to” field defaulting to you. Leave this assigned to you because you were the user who took the call and is logging the completed activity.
Type a short subject of the activity, set the date as today since the call just happened, set the activity type to “Call” because it was an inbound phone call, the status defaults to completed.
In this scenario it is not necessary to worry about the Account field, but you see the Contact is already pre-populated for you because we were originally on the contact detail screen for Brett Farve. We don’t have a deal yet and next you can associated this activity to the listing “Circle Bar P” because that was the property Mr. Farve was interested in.
Input any notes you may want to reference.
Set the source to “Website” because Mr. Farve referenced seeing this new listing on your website. And Conversion isn’t necessary on an inbound phone lead activity.
Click Submit & Create Another Activity button so this current activity will be logged and then you can assign the next open activity to Chad Polk to call Mr Farve back.
Now you’ll see a green confirmation message at the top that your previous activity was saved or logged and we can move on to create an open activity assigned to the listing rep Chad Polk.
First the Assigned to field will need to be “Chad Polk” so that he gets the email notification of an activity assignment and when he logs into REALSTACK he will be able to see this activity that was assigned to him.
We’ll create a quick subject that is informative.
Suggest a due date.
Activity Type should be set to whatever you are suggesting the listing rep to do. In this case, we’ll suggest to call the lead back.
Notice the status defaults to “not started”.
The next column has all the previous activity related fields still populated.
Add your notes for information and guidance to Chad Polk in the notes field.
Source and conversion are not necessary in this instance.
So at this point Chad Polk should have received a notification for:
- The contact being assigned to him, and;
- The activity being assigned to him as “Not Started”.
This simple process is an excellent alternative to receiving inbound phone calls and typing all this information in an email. The benefits of entering and assigning information in REALSTACK are:
- Logging of inbound calls is streamlined
- You have a detailed record of this new lead and activity for reporting
- Listing reps are efficiently notified of inbound leads the brokerage is generating for them
- And most importantly, the brokerage marketing paid for that lead and they’ll be able to add this new lead to future marketing campaigns such as email newsletters and more.
What we’ll do next is look at what the listing rep will see …
First you’ll see the email notification of the Contact assignment with all the contact information you provided.
Next you see the email notification for the Activity assignment with all the contact and activity information you provided.
Ultimately what the listing rep is able to do is click the “Activity” link towards the top of the email and view this activity in their REALSTACK account.
From this Activity Detail screen the listing rep will be able to click the edit icon in the top right corner and mark this activity completed at the appropriate time.
If you have additional questions about creating contacts and activities for other users, email support @ realstack. com
